Quick Answer
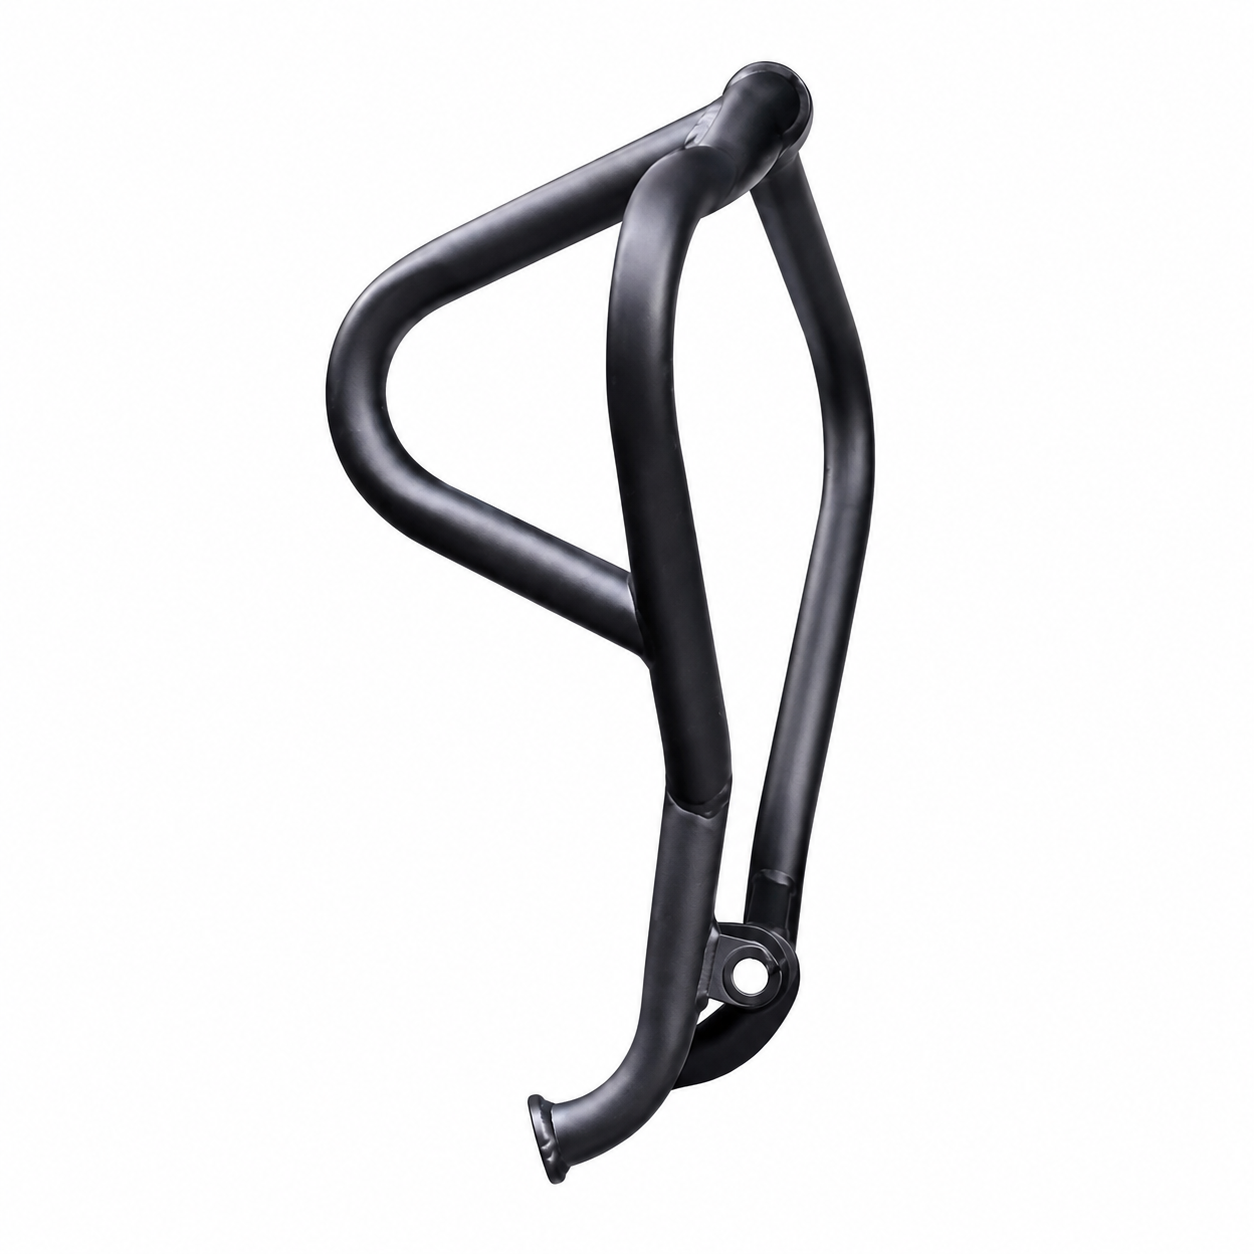
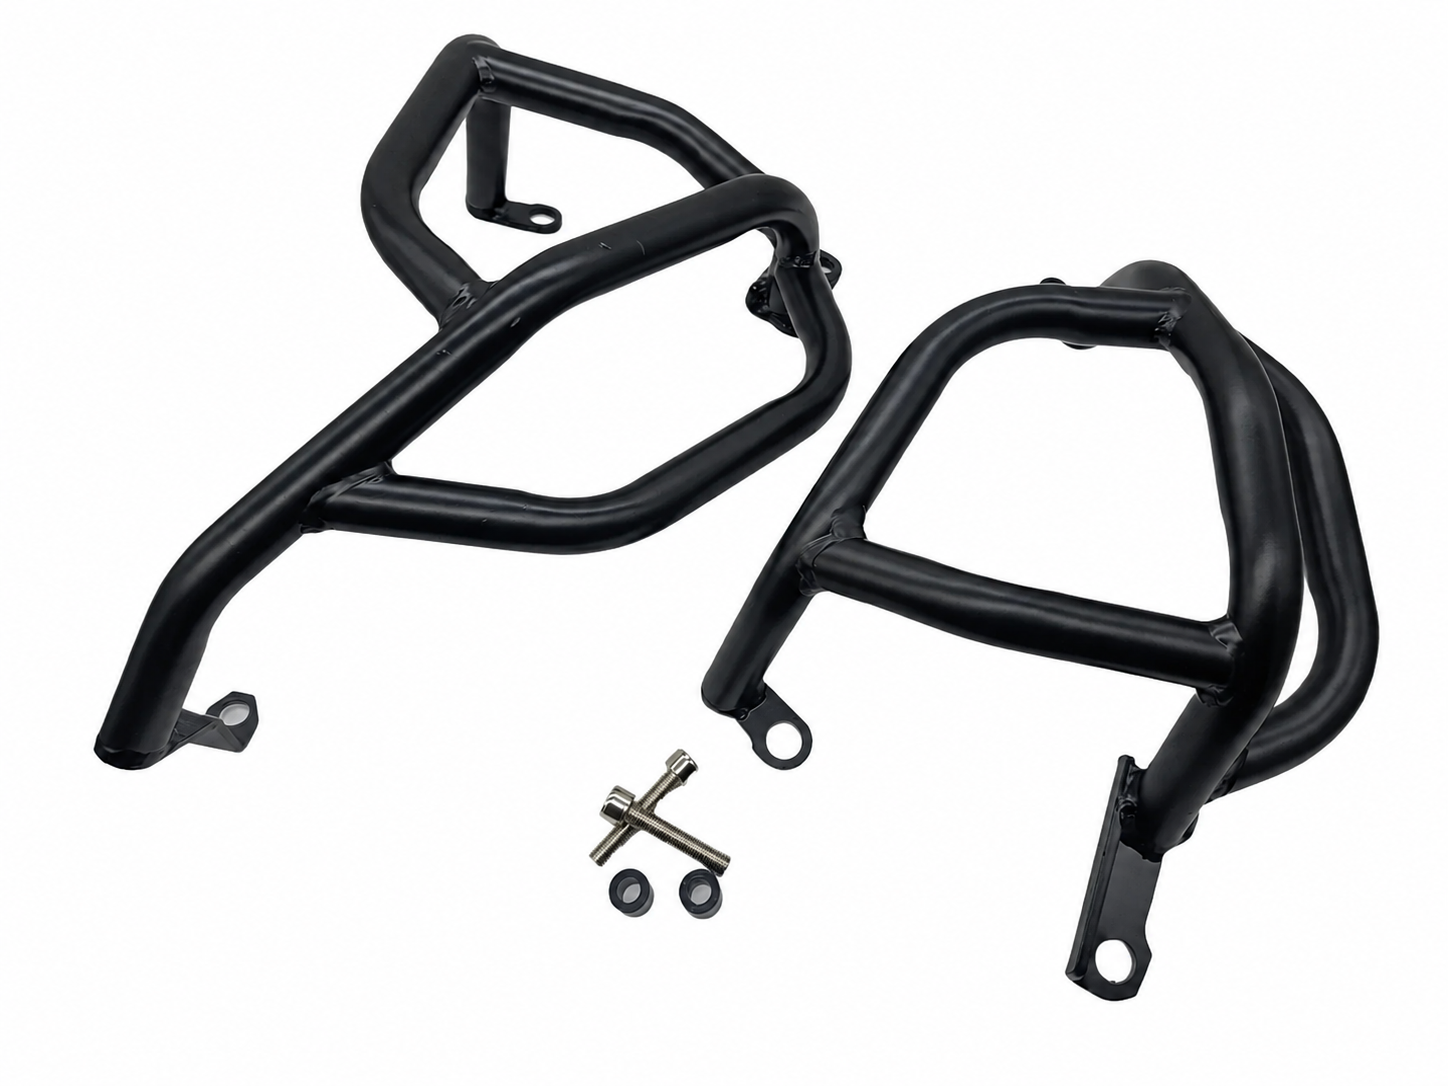
Before approving a motorcycle crash bar sample, importers should confirm the exact motorcycle model, year and market version; check every mounting point in a loose-fit condition; verify natural alignment and clearance; confirm the complete hardware kit; and record the final approved sample. Fitment should be checked on the target motorcycle rather than judged from product photos alone.
This review separates appearance approval from model-specific fitment approval. The sections below explain what importers should document before treating a sample as the production reference.
Confirm the Exact Motorcycle Version
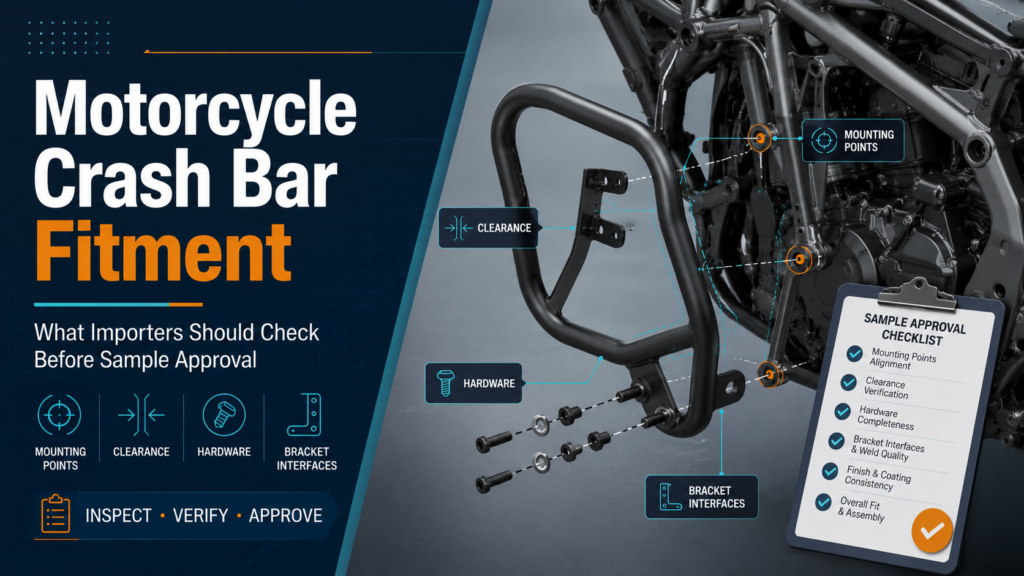
Start with the motorcycle make, exact model designation, production year, and sales-market version. A similar model name is not enough on its own. Across years or markets, visible bodywork, mounting brackets, frame details, and accessory arrangements can differ. Motorcycle accessory brands commonly publish model- and year-specific applications for this reason.
Record the motorcycle’s existing configuration as well. A skid plate, pannier rack, engine guard, footrest component, exhaust part, or another retained accessory can share the same space or mounting area as the crash bar. Do not treat compatibility with an untested accessory as confirmed. The sample file should include clear vehicle photos, identifying information where available, and photos of any accessory that must remain installed.
Check Every Mounting Point in a Loose-Fit Condition
Before judging appearance, engage all intended mounting points loosely. Do not fully tighten one point while the rest of the crash bar is still unsupported. This makes it easier to see whether the complete structure reaches its intended position naturally.
Check that each bracket meets its mounting surface without being pulled into place. Confirm that the holes align with the original holes or threads, and that bolts can enter on their normal path. Check the correct spacers, clamps, and left- or right-specific brackets at the same time. If engaging one point makes another point visibly miss, pause the review and record the condition.
Final tightening order and torque must follow the product-specific instructions and the motorcycle manufacturer’s requirements.
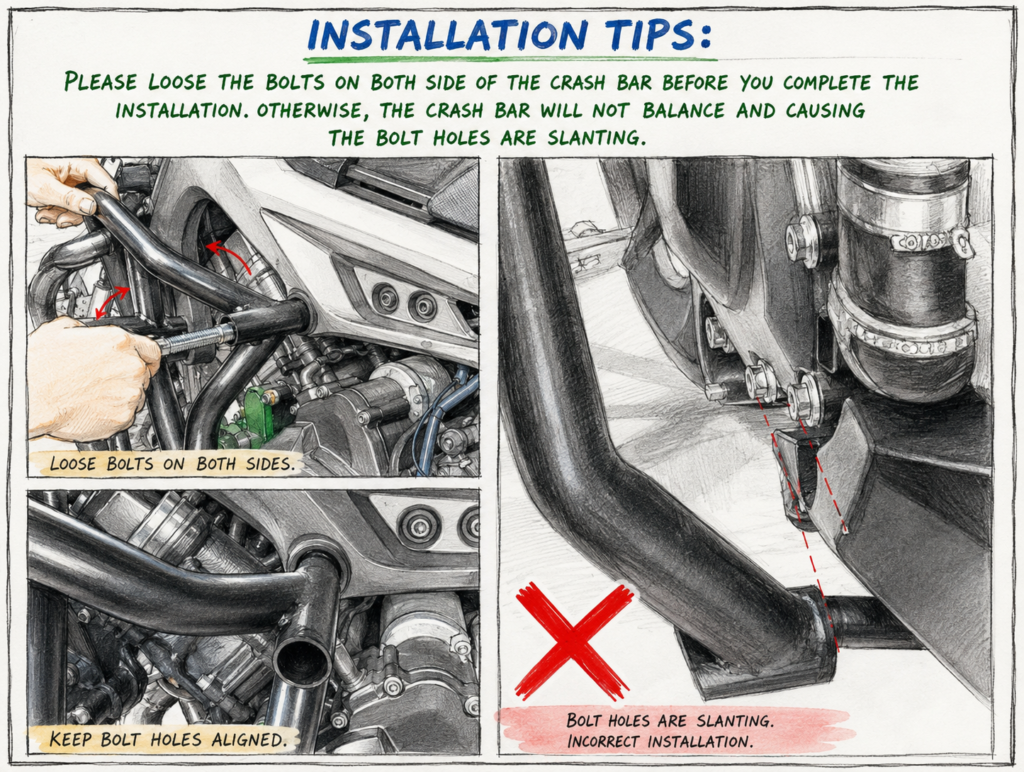
Do Not Approve Forced Alignment
Do not approve a received sample by reshaping it on the motorcycle. Bending a bracket, enlarging a mounting hole, pulling or compressing the structure with unusual force, or using leverage to change its shape can conceal the condition that needs to be reviewed. The same is true when one mounting point only works after the remaining holes are forced out of position.
The cause may be a wrong model or year, a bracket or hole-position difference, a bend-position change, movement after welding, mixed left- and right-specific parts, or incorrect hardware. The cause cannot be confirmed from one symptom alone. Photograph the received condition first, note which parts and fasteners were used, then review the sample before drilling, grinding, or bending anything.
Check Clearance and Final Position
After all mounting points are engaged, check the space around body panels, fairings, engine areas, exhaust components, foot controls, and retained accessories. Close areas should be photographed clearly. The crash bar should not press against nearby parts or block components that normally need to be removed for routine service.
Then compare the installed left and right sides. Look at height, angle, distance from the motorcycle body, and front-to-rear position. Use confirmed motorcycle reference points rather than bodywork alone, because visual symmetry is only one part of the fitment review. Recheck that side-specific pieces and spacers are correct and that brackets are fully seated before deciding that the outer tube position is the issue.
Fitment can be affected by tube cutting, bending, bracket and hole positioning, fixture control, and welding sequence, so the complete assembly should be checked on the target motorcycle.
Confirm the Complete Hardware Kit
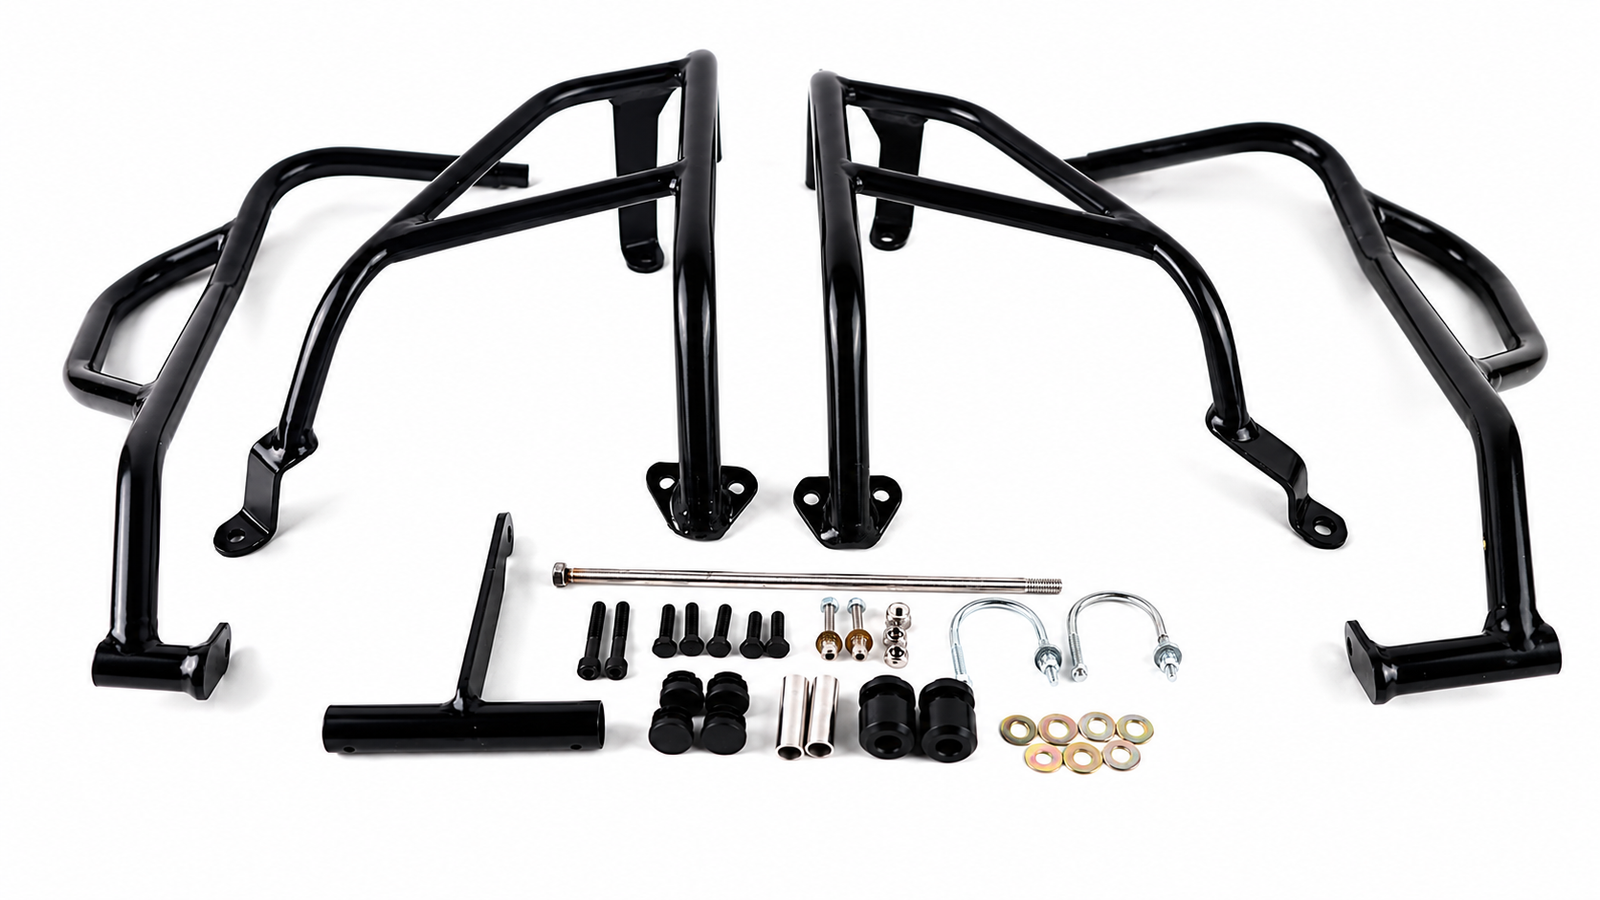
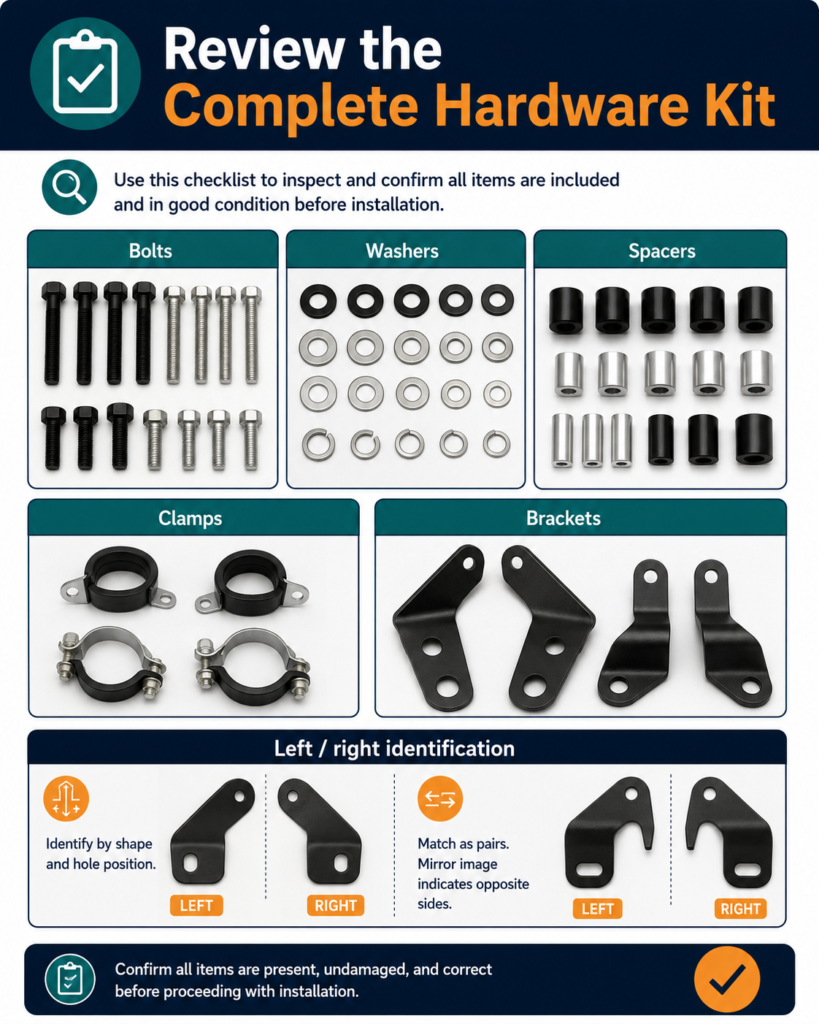
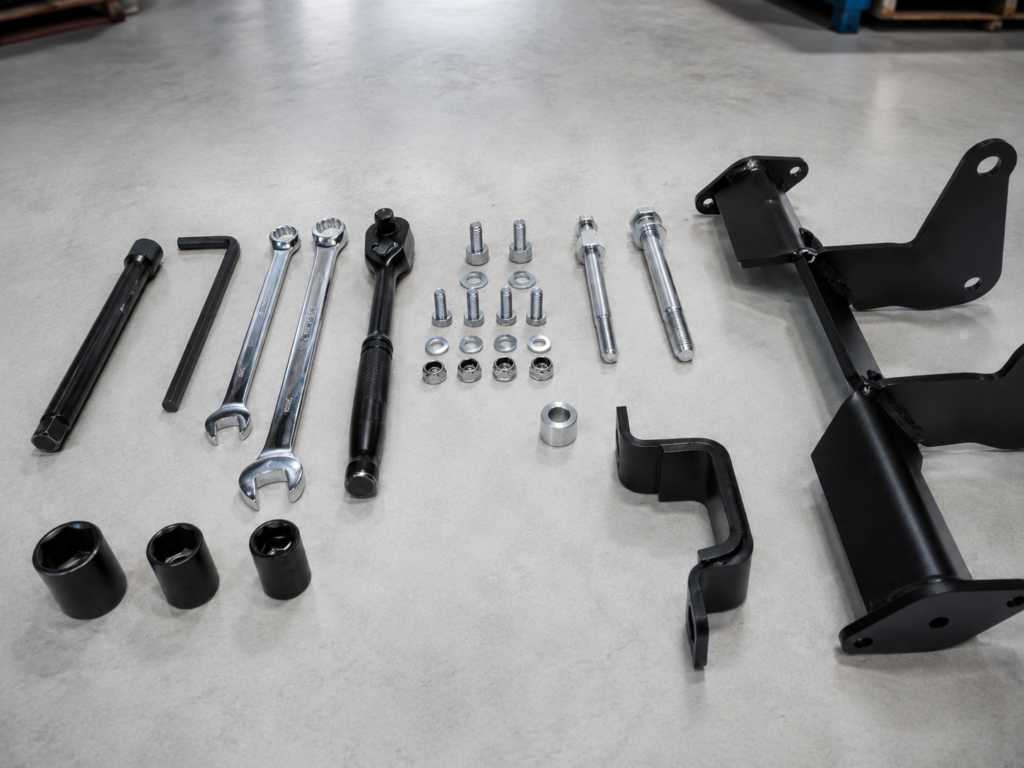
The crash bar and its installation hardware should be approved as one package. Lay out the bolts, nuts, washers, spacers, clamps, and separate brackets. Confirm the quantity and intended position of each item. Different bolt lengths can look similar, so their intended locations need to be clear. Left- and right-specific parts should be clearly identified.
The buyer should confirm that the photographed hardware kit is the same version that will be packed with the production order. A correct bar can still be difficult to install when the spacer, bracket, or bolt supplied with it is not the approved item.
Record the Final Approved Sample
If the sample is modified after trial fitting, record what was changed and request new installation evidence. The final approved version should match the drawing, hardware kit, finish, and packaging used for production. A replaced sample or superseded drawing should not remain the production reference.
Before approval, check that the finished mounting holes, threads, welded nuts, and bracket contact areas remain usable with the approved hardware. The packaging reference should show the correct product identification and complete hardware kit. These checks help the buyer compare the final sample with the version intended for production, without assuming that appearance alone confirms fitment.
Motorcycle Crash Bar Sample Approval Checklist
- The exact motorcycle model, year, and market version are confirmed.
- Existing accessories that may affect installation are documented.
- All mounting points engage in a loose-fit condition.
- No bracket is bent and no mounting hole is enlarged.
- Clearance around the motorcycle is checked.
- Left and right position is compared on the installed motorcycle.
- The complete hardware kit matches the approved sample.
- The final revised sample is clearly identified and approved.
Frequently Asked Questions
Can a crash bar sample be approved without installing it on the motorcycle?
Off-bike review can check appearance and the supplied components, but it cannot confirm model-specific fitment. The sample should be checked on the identified target motorcycle with its relevant accessories in place.
Why do crash bar mounting holes sometimes fail to align?
Possible reasons include a model or year mismatch, bracket or hole-position variation, bend variation, movement after welding, mixed side-specific parts, or incorrect hardware. Record the received condition before modifying the sample.
What evidence should an importer keep after sample approval?
Keep the exact motorcycle version, motorcycle and accessory photos, mounting-point and loose-fit photos, installed clearance and position photos, a complete hardware-kit photo, and the record of the final approved sample and any revision.
Send Your Fitment Information to XCMOTOPARTS
For a model-specific crash bar review, send the motorcycle make, model, year, and market version, together with full vehicle photos, mounting-area photos, accessory details, and the required finish and hardware information. Learn more about our drawings and samples process, or submit the requirement through the B2B inquiry form.