How to Confirm Motorcycle Rear Rack Fitment Before Bulk Ordering
Quick Answer
Before placing a bulk order for a model-specific motorcycle rear rack, confirm the exact motorcycle version, document the original rear structure and mounting points, install a representative sample on the target vehicle, check clearance and hardware, and approve the final sample revision. Fitment should not be approved from product photos or forced alignment alone.
This guide helps buyers separate model identification, sample fitment, clearance, hardware and final-version approval before bulk production.
Motorcycle Rear Rack Fitment Starts with the Exact Version
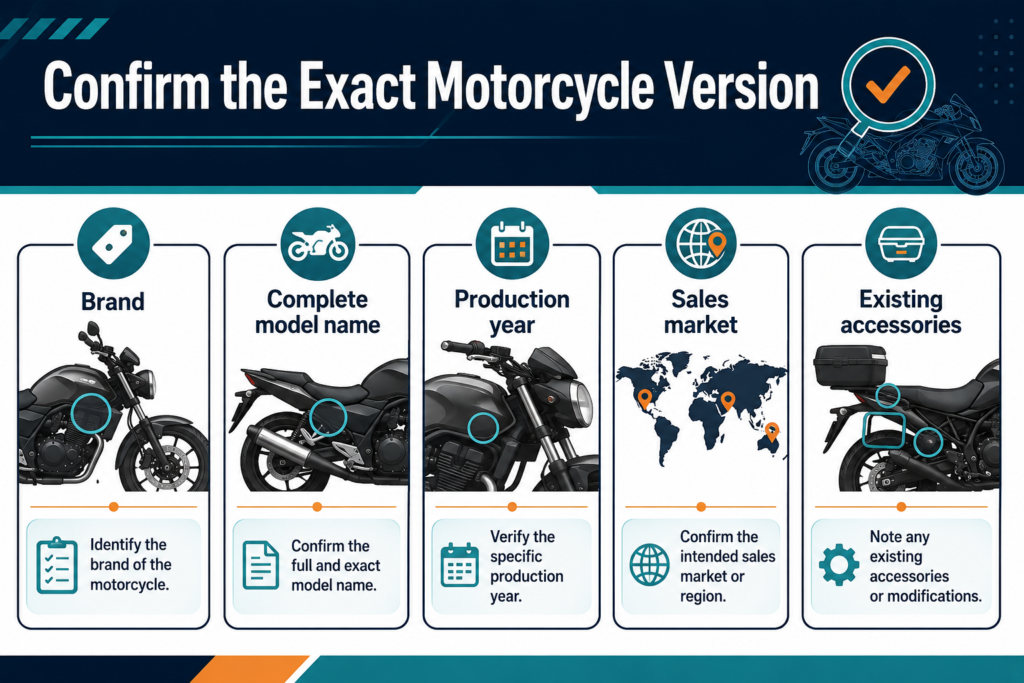
Record the manufacturer, full model name, production year and sales market. Also note the original grab handle, carrier, side-case frame and any accessory that must remain installed.
The same model name may be used across different years, markets or local configurations. Rear body panels, grab handles, tail-light positions and accessible mounting points may not be identical. Confirm the target version before discussing a model-specific motorcycle rear rack.
Send Clear Motorcycle Rear Rack Mounting-Point Information
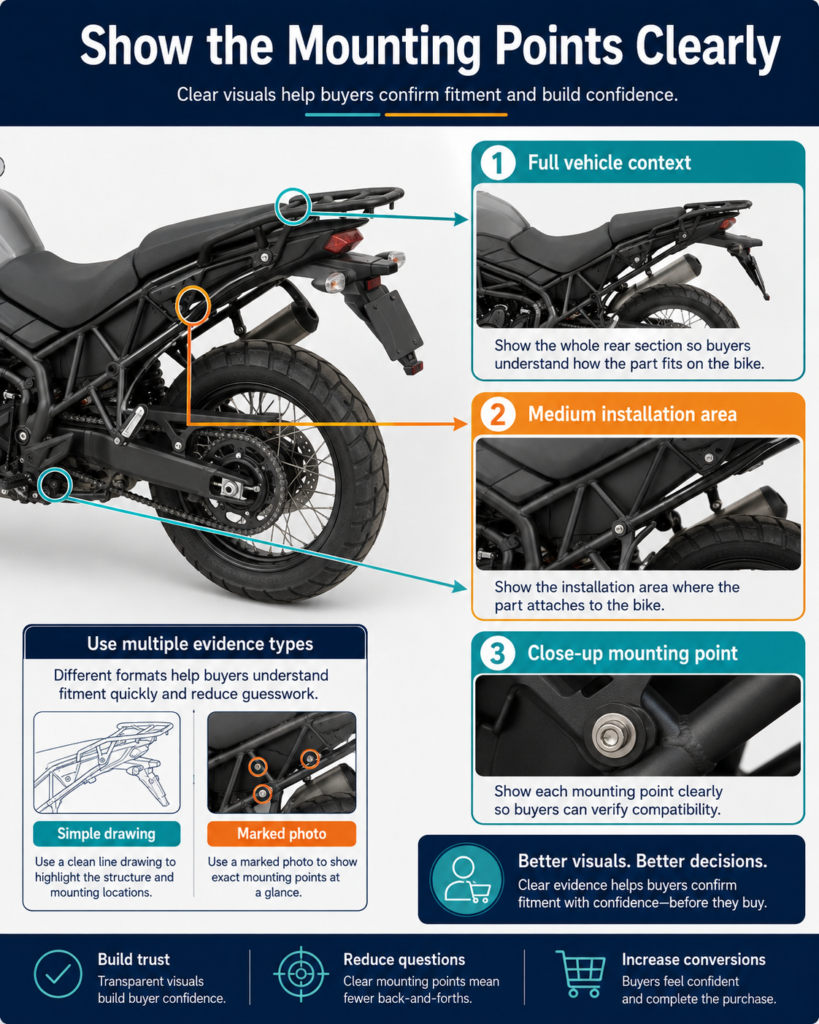
Provide full left, right and rear motorcycle photos, followed by photos of the original rear section. The images should show the seat edge, grab handles, tail light, body panels and the proposed bracket locations.
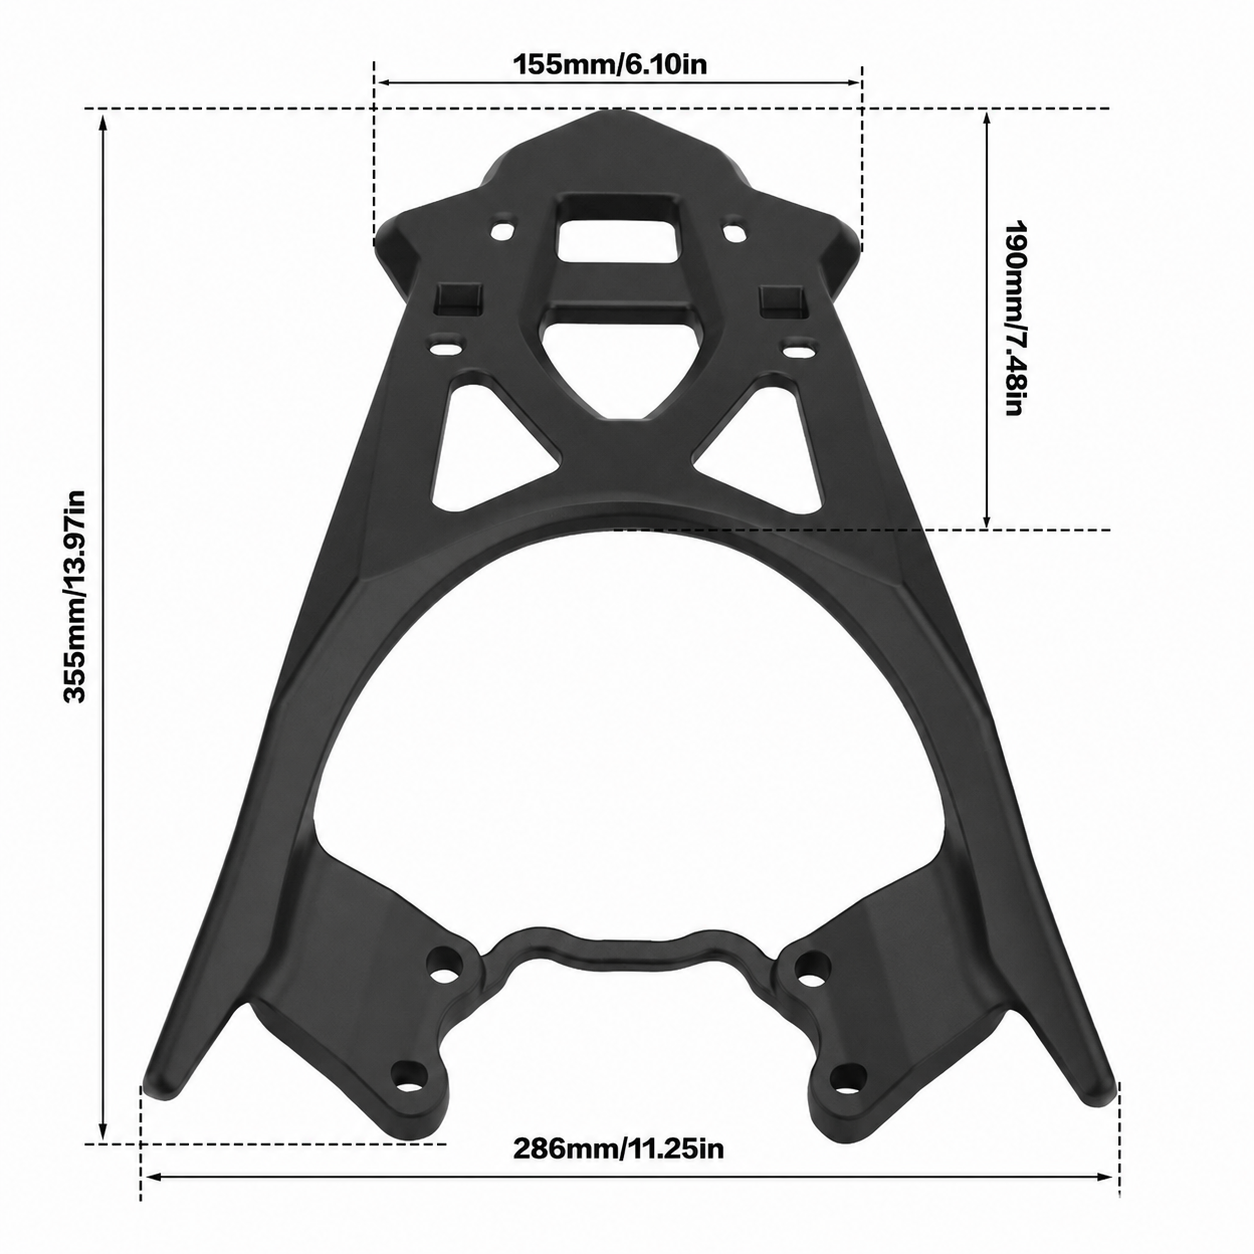
Each motorcycle rear rack mounting point should be shown in context and in close-up. Add a ruler, tape measure or another clear reference where a dimension matters. A reference dimension should be identified clearly; perspective in one photo cannot replace a real measurement.
If photos do not show enough information, send a current drawing, existing rack or physical sample. The appropriate reference depends on the application and the information available. See the XCMOTOPARTS drawings and samples process.
Install and Check the Sample
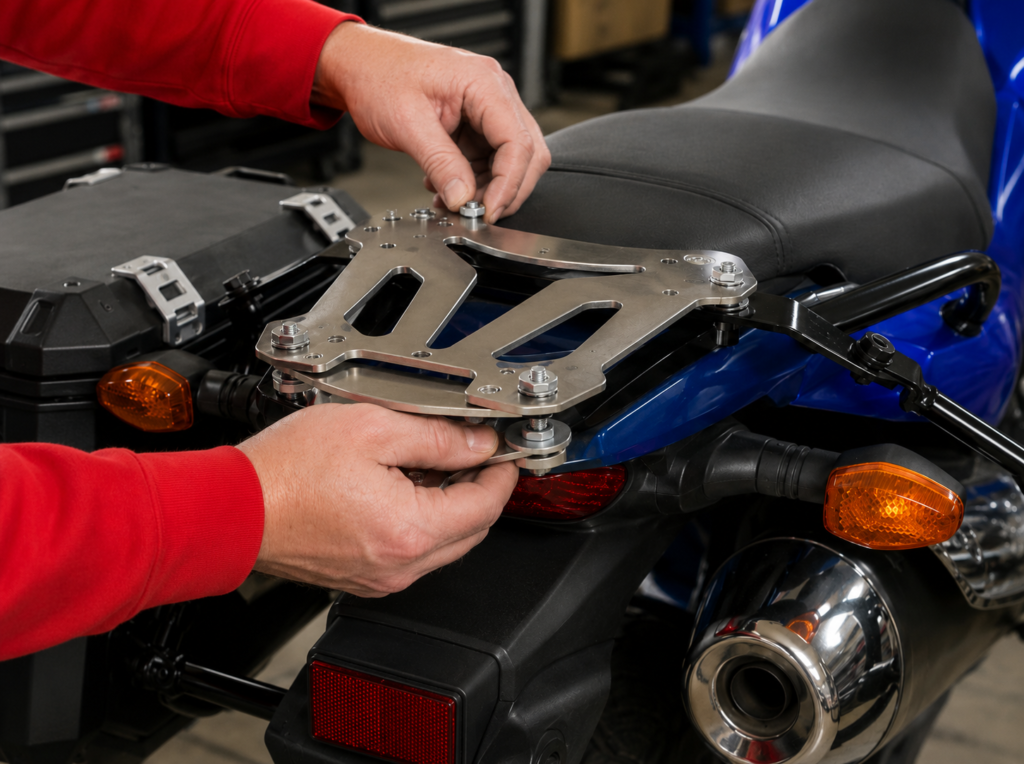
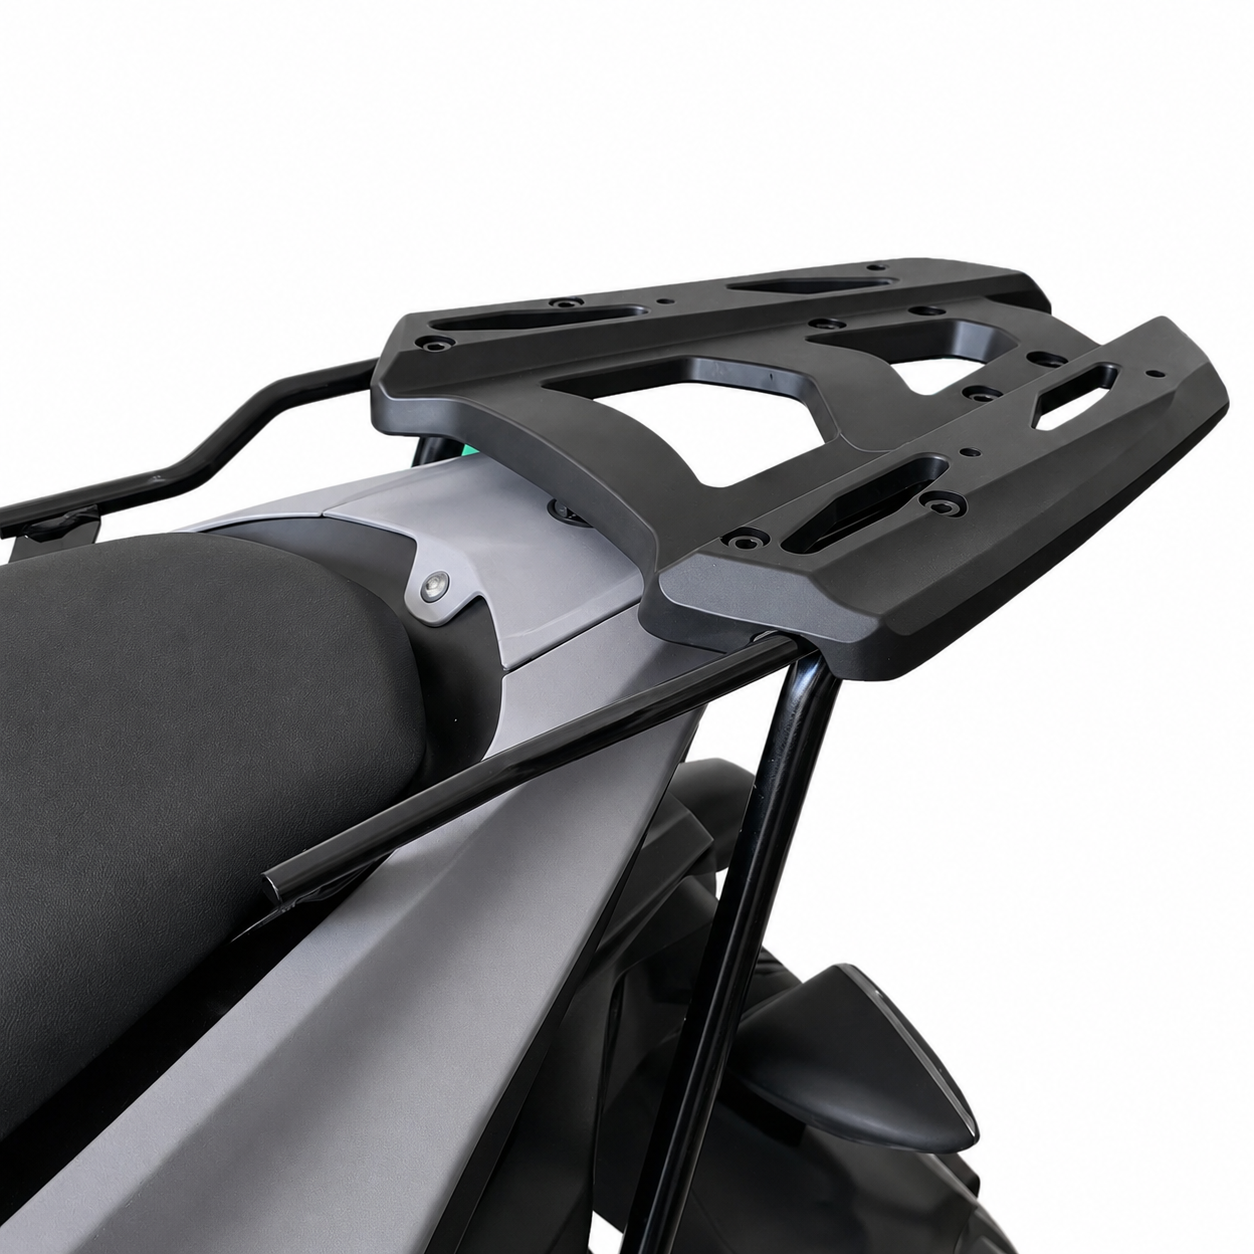
The sample should be installed on the correct motorcycle version. Start the intended mounting points loosely so the complete rack can find its position before final tightening.
Check whether each bracket sits naturally against its intended surface and whether the holes line up with the motorcycle’s mounting points. The correct bolts, washers, spacers and brackets should be used during this check.
A practical approval sequence is: identify the motorcycle version, record the original rear equipment, engage all mounting points loosely, check alignment and clearance, then tighten according to the approved fitting instructions. Photograph the installed result and keep the hardware list with the sample reference.
Do not treat forced installation as approval. Pulling the brackets into position, bending the rack or enlarging a hole can hide a mismatch. If one mounting point aligns only after another point is forced into place, stop and record the condition. The exact correction depends on the vehicle information, sample revision and approved requirements.
Check Position and Clearance on the Real Motorcycle
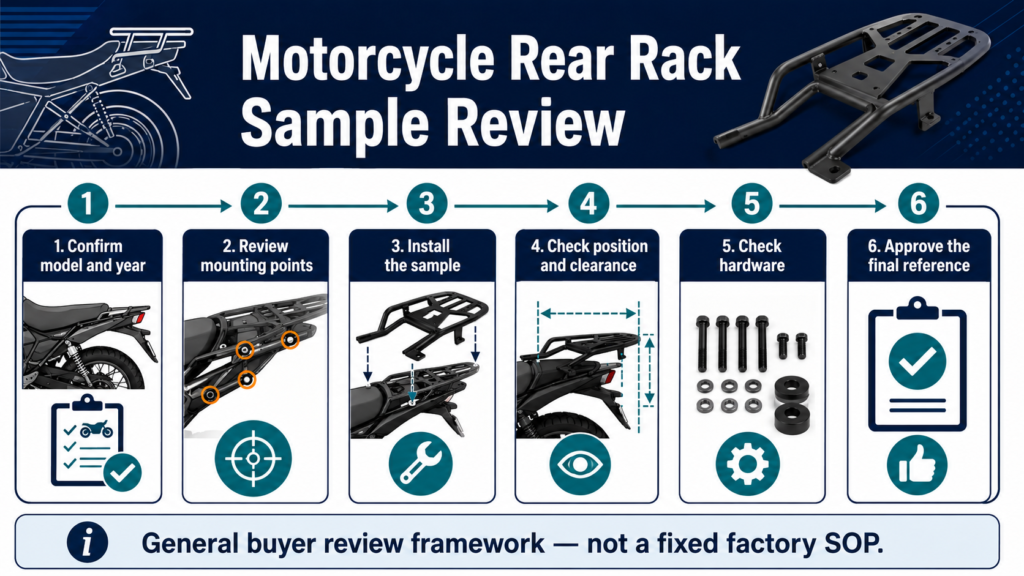
Review the installed rack from the side and rear. Check its position around the seat, tail light, body panels, grab handles and any accessory that must remain compatible.
Also check whether the seat can be used normally and whether nearby parts remain accessible for ordinary service or removal. Do not approve clearance from a distant product photo. Use close-ups of the actual motorcycle and record any requirement that comes from an approved drawing or buyer specification.
Approve the Final Version and Hardware Kit
Sample approval should identify the final version, finish and appearance. If the bracket, hole position, tube shape or hardware changes, update the sample reference before bulk production.
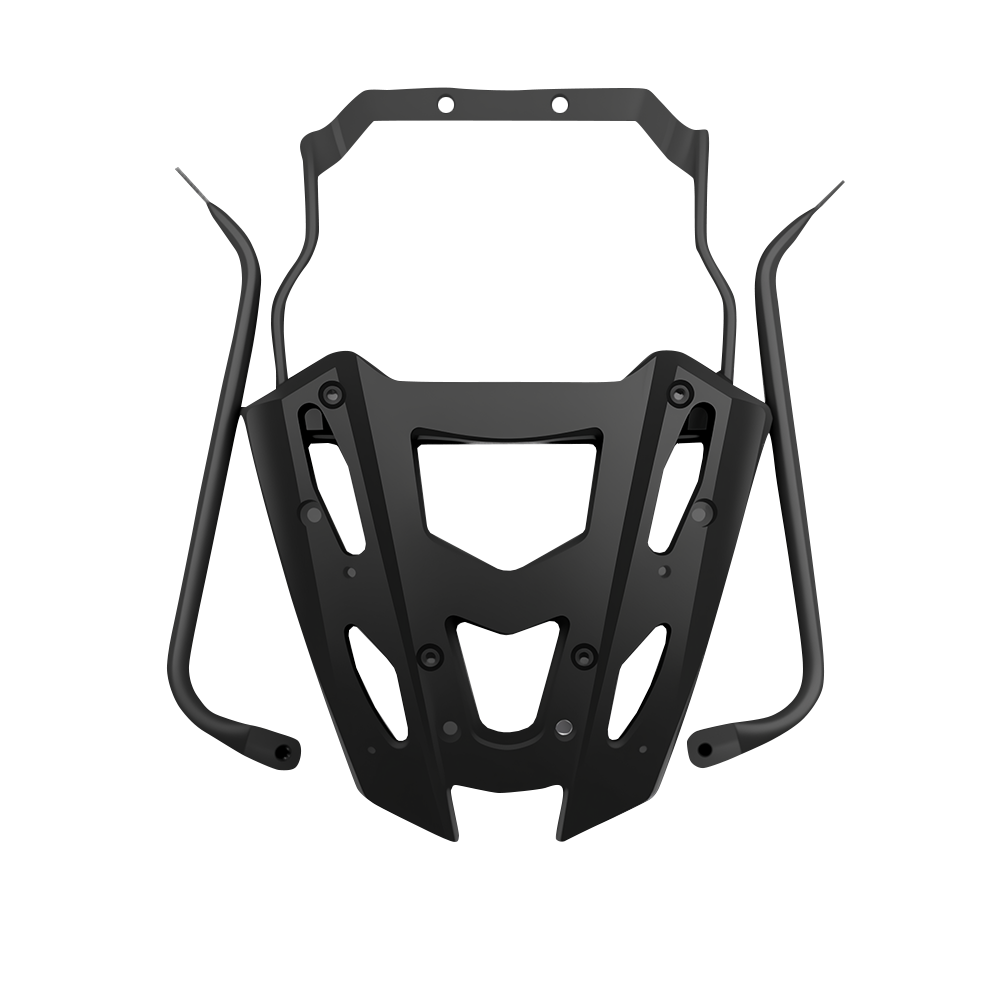
The installation kit is part of the approved product. Check the bolts, washers, spacers, brackets and other pieces against the agreed list. Identify left and right parts and keep hardware for different rack models separate.
Labels and packaging should match the correct model and version. A rack can look correct while the wrong spacer or bracket set makes installation difficult. The final requirements should be confirmed before batch production.
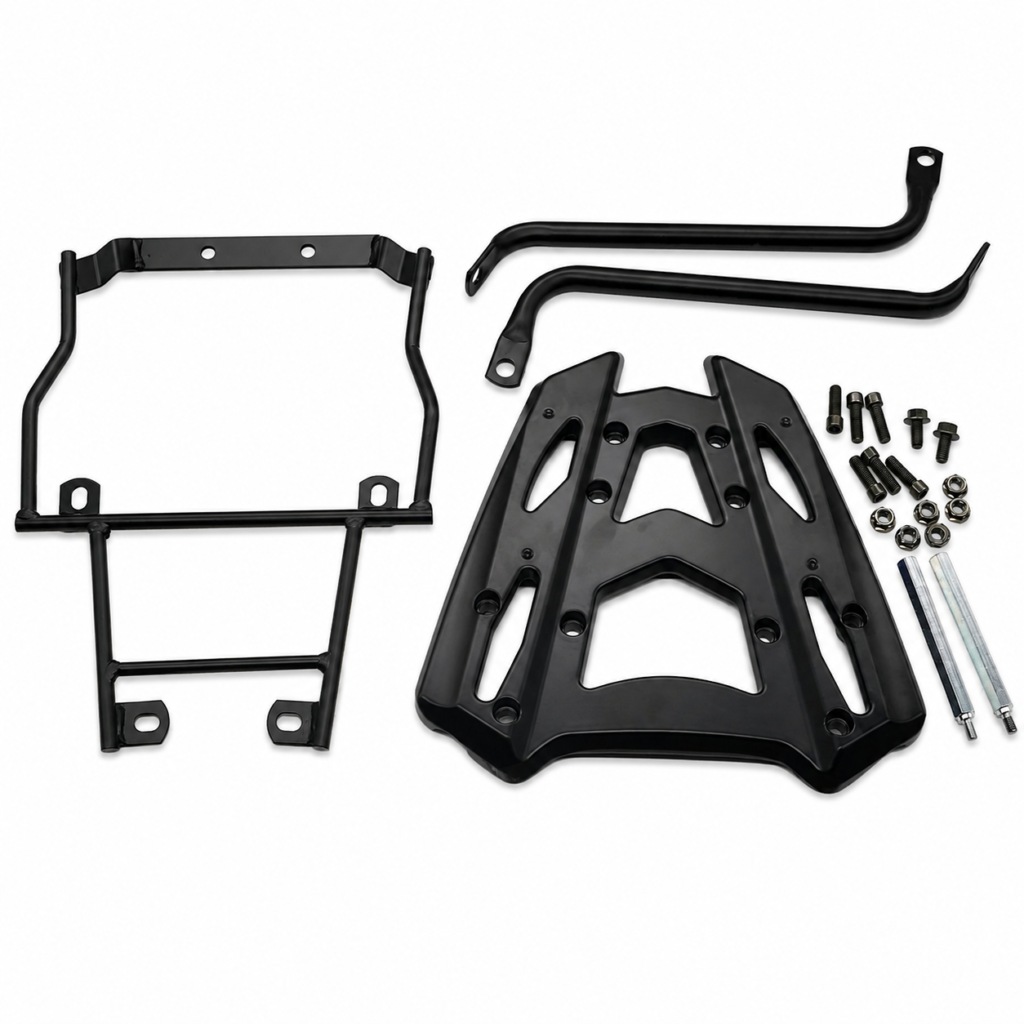
Buyer Checklist
- Confirm the motorcycle make, complete model, year and sales market.
- Photograph the original rear section and every mounting point.
- List the OEM and aftermarket accessories that must remain installed.
- Install the sample on the correct motorcycle version.
- Check alignment, clearance, finish and the complete hardware kit.
- Approve one final sample and version before bulk production.
Frequently Asked Questions
Can a buyer confirm motorcycle rear rack fitment from product photos alone?
No. Photos show shape and appearance, but fitment approval also requires the exact motorcycle, visible mounting points, intended hardware and an installed sample.
Why are production year and sales market needed if the motorcycle model name is unchanged?
The same model name may cover different rear equipment, body panels, mounting access or local configurations. Year and market help identify the target motorcycle version.
Should a rear rack sample be approved if the installer must pull the brackets into alignment?
Not without investigation. Pulling, bending or enlarging holes can hide a mismatch. Record the condition and confirm the cause before approving a revised sample.
What should buyers check after the rear rack receives its surface finish?
Check the mounting holes, threads, bracket contact areas and other features that may be affected by coating or residue.
What information is needed for a motorcycle rear rack development review?
Provide the motorcycle make, full model, year, market, vehicle photos, mounting-point photos, accessories that must remain installed, and any drawing, sample or reference dimensions.