
For a buyer sourcing a PCX160 crash bar for Southeast Asian markets, a product photo is only the starting point. The useful question is whether the part is tied to the correct vehicle version and supported by fitment evidence that another person can review. Model name, market, model year, mounting points, clearance, hardware and revision status should all be recorded before a sample is approved.
Quick answer: Before approving a PCX160 crash bar, confirm the exact market and model version, document the mounting points and clearance, connect the production jig to the approved drawing, and verify the first sample on the intended vehicle.
For a product-level reference, see the Honda PCX 160 crash bar product page. Treat the product page as the enquiry destination, and use the evidence below to confirm the exact market and variant rather than assuming every Southeast Asian version is identical.
Honda’s official owner-manual system separates PCX160 information by market and model year. It provides, for example, a Thailand PCX160 manual and separate model-specific documentation in other markets. That does not prove that every regional version has different crash-bar mounts, but it does show why “PCX160” alone is not a complete fitment key. A buyer should identify the exact application before asking a supplier to quote or make a sample.
Confirm the application before reviewing the part
Start the request with the vehicle information that can change the fitment decision:
- Honda PCX160, including the model year or generation;
- intended sales market or country;
- ABS, CBS or other confirmed variant details, when relevant;
- the reference vehicle, original accessory or approved sample used for comparison;
- any existing accessories that may occupy the same mounting area.
Do not use a country name as a substitute for evidence. If the part is intended for Thailand, Vietnam, Indonesia or another market, ask the buyer or distributor to identify the vehicle actually available for the fitment check. If the application is still uncertain, label it as a validation item instead of presenting it as a confirmed universal fit.
Build a fitment evidence file
A practical evidence file connects the vehicle to the part. It can be short, but it should be specific enough for purchasing, engineering and quality teams to review the same reference.
1. Record the reference vehicle
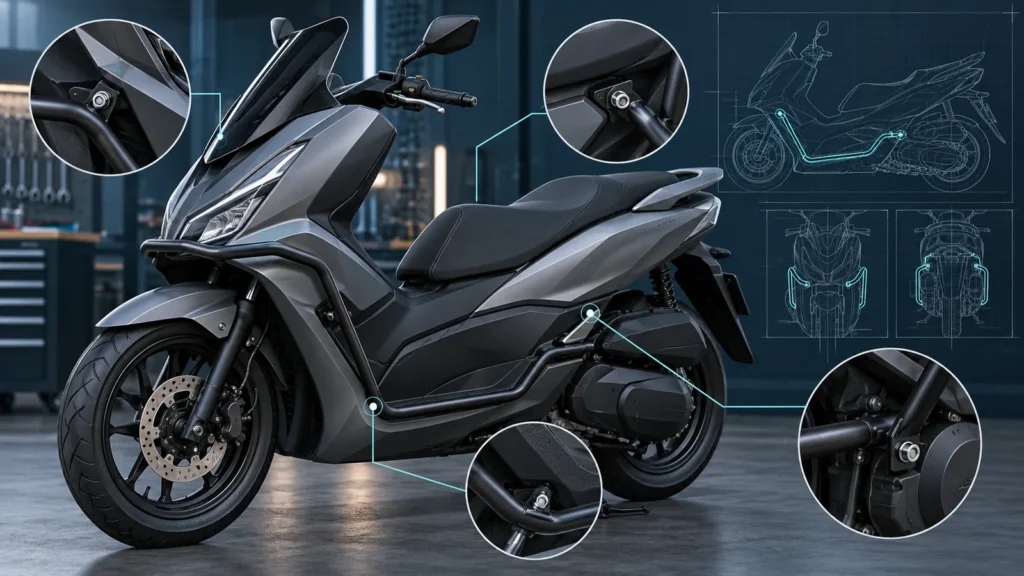
Save the market, model year, variant, reference-vehicle identification and date of inspection. Add clear left, right, front and underside photographs. A photo should show the surrounding bodywork, not only the tube. This helps a reviewer see whether the proposed bar clears the side panels, engine cover, front wheel movement and service access.
2. Mark the mounting points
Use a drawing or marked-up photograph to identify every intended attachment point. Record the reference used for each point, such as an existing bracket, frame location or approved sample. Hole spacing, bolt direction, spacer position and left/right orientation should be taken from the approved reference rather than guessed from a marketplace photograph.
3. Track drawing and sample revisions
Give the drawing, sample and photograph set a simple revision or identification code. When a mounting tab moves, a bend changes or a spacer is added, update the record. This prevents a buyer from approving one version while the factory builds another.
What a production jig can—and cannot—show
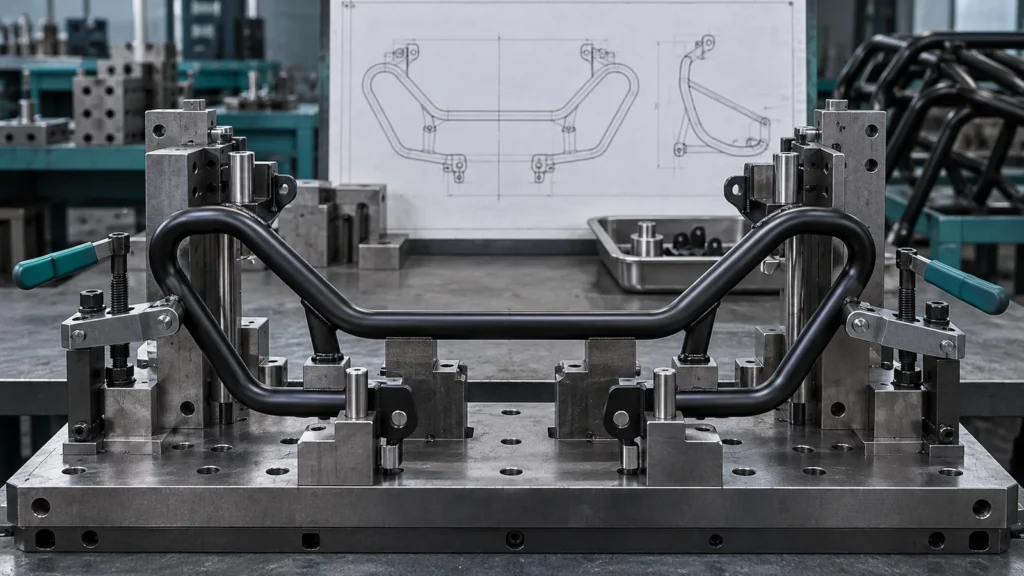
A jig or fixture can hold a tubular part and its brackets in a repeatable position while the part is assembled or welded. It is useful evidence of process control: the buyer can see which reference surfaces are being used and whether the same locating method is likely to be repeated across samples and batches.
A jig is not proof of vehicle fitment by itself. A part can sit correctly in a fixture and still be wrong for the intended vehicle if the fixture was made from an outdated drawing or an unapproved sample. The evidence chain should therefore be:
- approved vehicle or reference sample;
- controlled drawing and mounting-point record;
- jig or fixture built to that revision;
- first-article sample checked on the intended vehicle;
- documented approval before repeat production.
For a crash-bar development project, a useful factory photo shows the fixture, the locating surfaces and the part being held. It should be captioned as process evidence, not as a guarantee that every PCX160 sold in Southeast Asia uses the same mounting geometry.
Review the first sample in a repeatable order
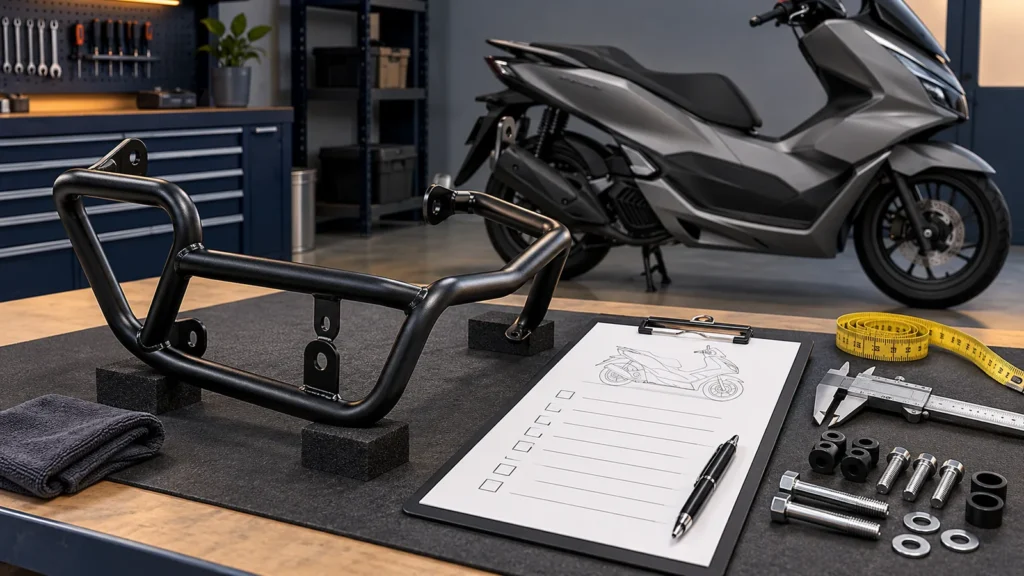
When the first sample is available, review it in the same order every time:
- Identity: Does the sample carry the correct project, model and revision identification?
- Mounting: Do all holes, brackets, spacers and fasteners align with the approved reference?
- Clearance: Is there enough room around body panels, cables, hoses, steering movement, suspension travel and routine service points?
- Symmetry: Do left and right sides match the drawing and the vehicle, without forcing the part into position?
- Installation: Can the installer follow the supplied sequence without unclear orientation or missing hardware?
- Finish: Are welds, edges, coating and protected contact areas consistent with the agreed sample?
If a hole needs to be pulled into alignment, a bracket must be bent during installation or a panel rubs after tightening, stop the approval and record the deviation. Do not hide a fitment problem by enlarging holes or changing hardware without a controlled revision. The buyer should decide whether the change is acceptable, and the drawing, jig and installation information should then be updated together.
For the broader release step, compare the fitment record with the motorcycle-parts quality inspection checklist. That checklist covers the product-level checks that should remain separate from market and model identification.
Keep finish and packaging evidence separate
Black coating, protective film and a well-packed carton are important, but they do not prove fitment. Review them after the geometry has been accepted. The packing record should identify the part, revision and hardware set, and should show how the finished bar is protected from scratches and bending during transport.
For cross-border shipments, ask for photographs of the packed sample or production cartons before dispatch. Record carton marks, quantity, hardware bag identification and any installation sheet included with the part. These records help a buyer distinguish a transport issue from a drawing or assembly issue when goods arrive.
When tube routes or bracket positions are revised, the motorcycle-parts tube-bending guide can provide process context. It does not replace the approved PCX160 drawing, vehicle check or sample decision.
A buyer’s PCX160 fitment checklist
- Exact PCX160 model year, market and variant are written in the request.
- Reference vehicle or approved sample is identified and photographed.
- Mounting points, orientation, spacers and clearance checks are marked.
- Drawing, sample and jig carry matching revision information.
- First-article fitment is checked on the intended vehicle.
- Installation sequence and hardware are reviewed before approval.
- Finish, packaging and carton identification are recorded separately.
- Any open question is assigned an owner before repeat production.
FAQ
Does “PCX160” automatically identify the correct crash-bar fitment?
No. It identifies the motorcycle family, but the buyer should still confirm model year, market, variant and the reference vehicle used for the check.
Can a product photo prove that a crash bar fits?
No. A product photo can show the general shape and finish. Fitment needs mounting-point, clearance and vehicle-check evidence.
Does a production jig guarantee a correct sample?
No. It shows how the shape is being held for repeatability. The jig must be tied to an approved drawing and then verified on the intended vehicle.
What should a buyer send before requesting a quote?
Send the exact application, reference photos or sample, marked mounting points, required finish, packaging expectations and any existing installation constraints. A supplier can then identify which items are confirmed and which still need a sample check.
Reference material: Honda’s official Thailand PCX160 owner’s manual and PCX160 model-year documentation illustrate why market and model-year identification belongs in the fitment record. Use the documents supplied with the intended vehicle as the controlling reference.
For related preparation, see the crash-bar fitment review guide, the tubular-parts development guide and the motorcycle-parts quote checklist. These links explain the surrounding drawing, sampling and quotation records; the PCX160 application still needs its own approved vehicle evidence.
For a project-specific review, send the available application details, drawing or sample and fitment photographs through the XCMOTOPARTS quote contact. The submitted evidence should identify what is confirmed and what still needs validation.